




How Does A Paper Coffee Cup Making Machine Function
Nov 15, 2025
Leave a message
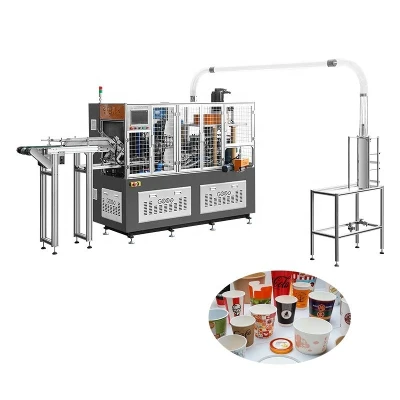
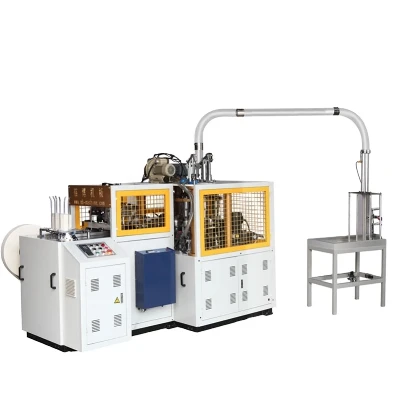
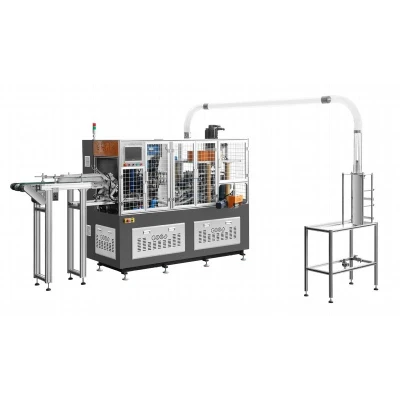
Paper coffee cup machines convert coated paper (outer paper + inner polyethylene leakproof film) into cup body and bottom in an automated, phased process. It is then precisely assembled and sealed to form a full coffee cup suitable for storing beverages. Its core principle is ``component molding + seamless splicing '', which is divided into five key steps:
1.Core structural support: three systems
The machine's operation depends on a coordinated effort of three core systems to ensure precise connection between each step:
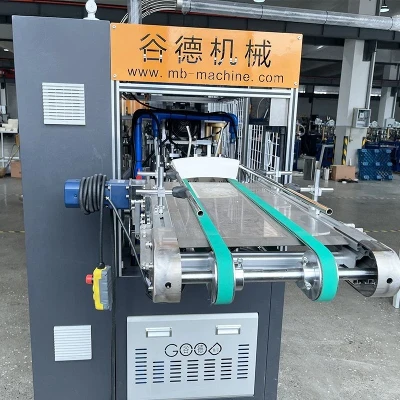
The paper feeding and cut paper system consists of a roll holder, tension controller, guide roll and cutter blades, which feed the raw paper steadily and cuts it into cups and billets.
The forming system consists of bulk forming mold (curling and heat-sealing components) and base forming die (stamping and curing assembly), which transforms planar rough into three-dimensional assembly.
The assembly molding system consists of positioning robot arm, hot pressing/ultrasonic sealing components and edge trimming mechanism to complete cup body and base splicing, leak-proof sealing and rim optimization. ii. Complete Workflow: 5-Step Automated Processing
Take the mainstream automatic packaging machine for example, the whole process from the original paper to finished paper cup is as follows:
1. Step 1: Raw Paper Transport and Cutting
Raw Paper Transport: laminated paper rolls are mounted on a paper feeder and transported at a steady speed (30-50 m/min) through guide rollers and tension controller to the cutting station (to prevent paper deviation or stretching).
Precision cutting: Paper cutters cuts continuous paper into two types according to pre-set dimensions:
Cup rough: Most are fan or rectangle (rolled into cylindrical shape), the dimensions match the height and circumference of the cup.
Cube bottom blank: Round, slightly larger in diameter than the opening at the bottom of the cup, with "raised edges" (later inserted into the cup).
After cutting, the two billets are delivered to the cup body and base forming stations station through separate conveyor 2. Step 2: Cup Forming-Transform flat sheets of paper a Sealed Cylinder
Its core process is "curl + heat seal" to achieve three-dimensional shaping and leak-proofing:
Curl and shape: Cube rough goes into the molding mould, where it is mechanically compressed and rolled into a cylindrical shape, ensuring alignment of the weld (deviation ≤ 0.5mm).
Seam heat sealing: The The mold's heating assembly (140-180°C, matching the melting point of the polyethylene film) and press wheels apply pressure and heat to the cylinder seams, melting and bonding the polyethylene film to form a leak-free sealing cup.
3. Cutting: Cut the sealed long cylinder into separate cups (up to the required height) and give the rim an initial trim. Step 3: Form the bottom of a cup-round paper becomes a Spliceable Cup Base
A "stamping + curing" process to ensure that the shape of the bottom of the cup is stable and matches the cup perfectly:
High-pressure stamping: The cup bottom blank enters the stamping die, which presses the flat paper at a speed of 5-10 MPa to the bottom of the cup with a "concave center raised edge" (the raised edge is suitable for grooves at the bottom of the cup).
4. Heat treatment: The stamped cup base is briefly heated (at the same temperature as the heat seal) to solidify the PE film and prevent it from deforming during subsequent assembly or filling. Step 4: Assemble cup body and base-join and seal to prevent leakage
This is a key step in determining whether the cup will leak. There are two main methods of sealing:
Positioning and docking: The robotic arm turns the cup upside down and inserts it precisely from below, ensuring that the raised edge of the base fits perfectly into the groove of the cup.
Seal and reinforce:
Hot Press Sealing: The assembly station's heating ring applies pressure and heat to the contact area, melting and bonding the PE membrane between the two to form a single overall seal (low-cost cost, suitable for general needs).
Ultrasonic Sealing: High-end models use high-frequency vibrations to generate frictional heat and melt PE films in contact areas, creating a safer seal without the risk of high-temperature carbonization.
After sealing, keep pressure on for 1-2 seconds to ensure the bond solidifies completely. Step 5: Cup rim molding + inspection + Product Output.
Optimizing the user experience and screening eligible products:
Cup Rim Processing: The cup rim forming mechanism uses a rotary blade to trim rough edges and create "inward curls" or "outward beads" as needed (to avoid scratching lips).
Quality Inspection: visual system automatically detects cup body damage, seams/bottom seal, rim flatness, automatically rejects non-conforming products;
Finished product collection: Qualified cups are stacked and boxed on conveyor belts for subsequent packaging (such as dust film applications and crates). III. Key technology: ensuring 'no leaks, no deformation'
Precise Temperature Control: Thermal seal temperature tolerance ≤ 5 ℃. Too low a temperature can lead to weak bonding, while too high a temperature can cause the paper to carbonize.
Dynamic Pressure Adjustment: Punch pressure and thermal pressure are adjusted according to paper thickness (180-220g/m2). Thicker paper requires higher pressure to ensure safe sealing.
Quick Mold Adaptation: by changing the mould to a different size, we can produce cups of all sizes, such as 12oz and 16oz. Mold changeovers usually take no more than 30 minutes.
Send Inquiry